Help Center / Invited clinicians / Cases
How to create and submit a clear aligner case
Creating and submitting a new case in CaseBench streamlines your collaboration with partner labs and ensures you provide all the necessary details for optimal patient treatment. Here's how to quickly set up a case and send it to your partner.
- 1
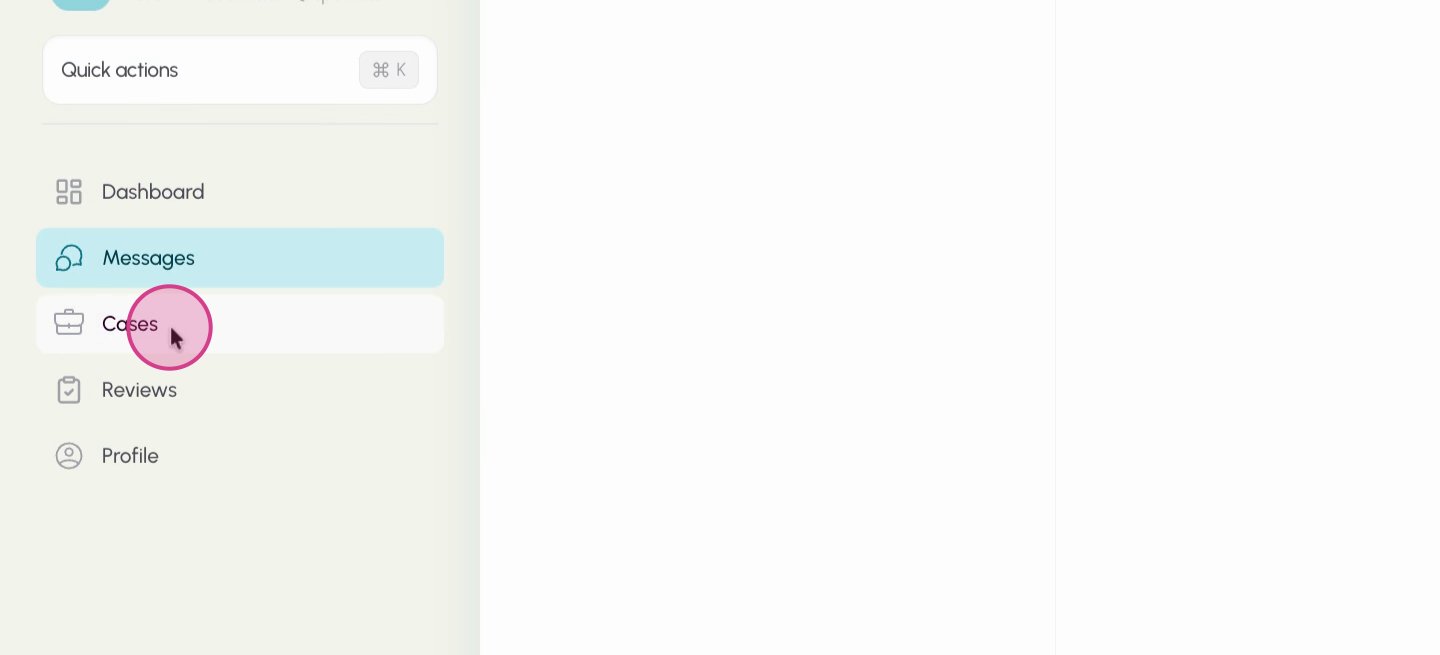
Click Cases in the left-hand sidebar.
- 2
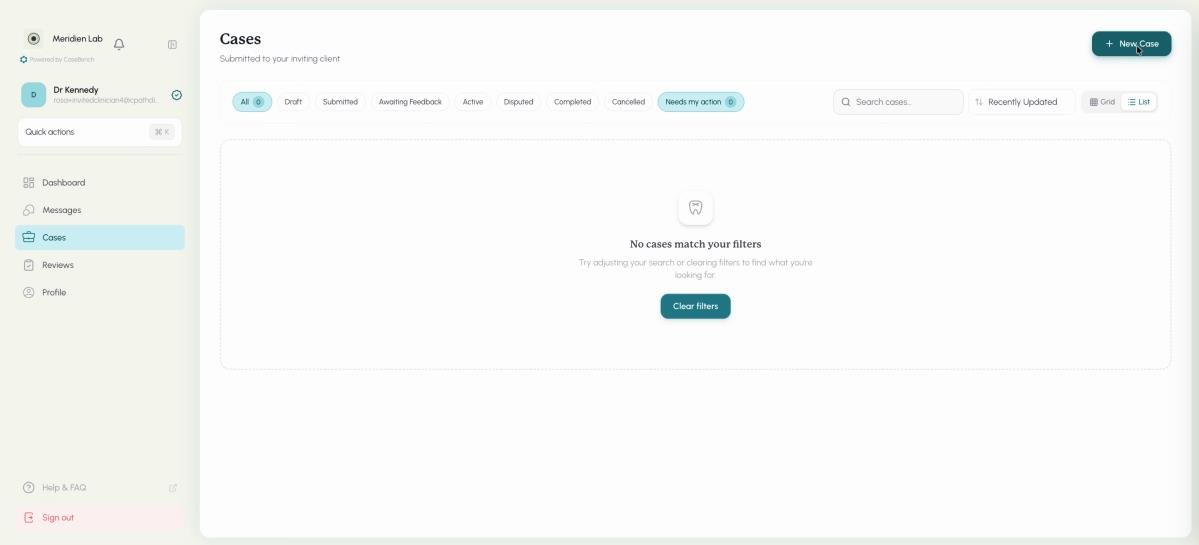
Click New case at the top right of the cases list.
- 3
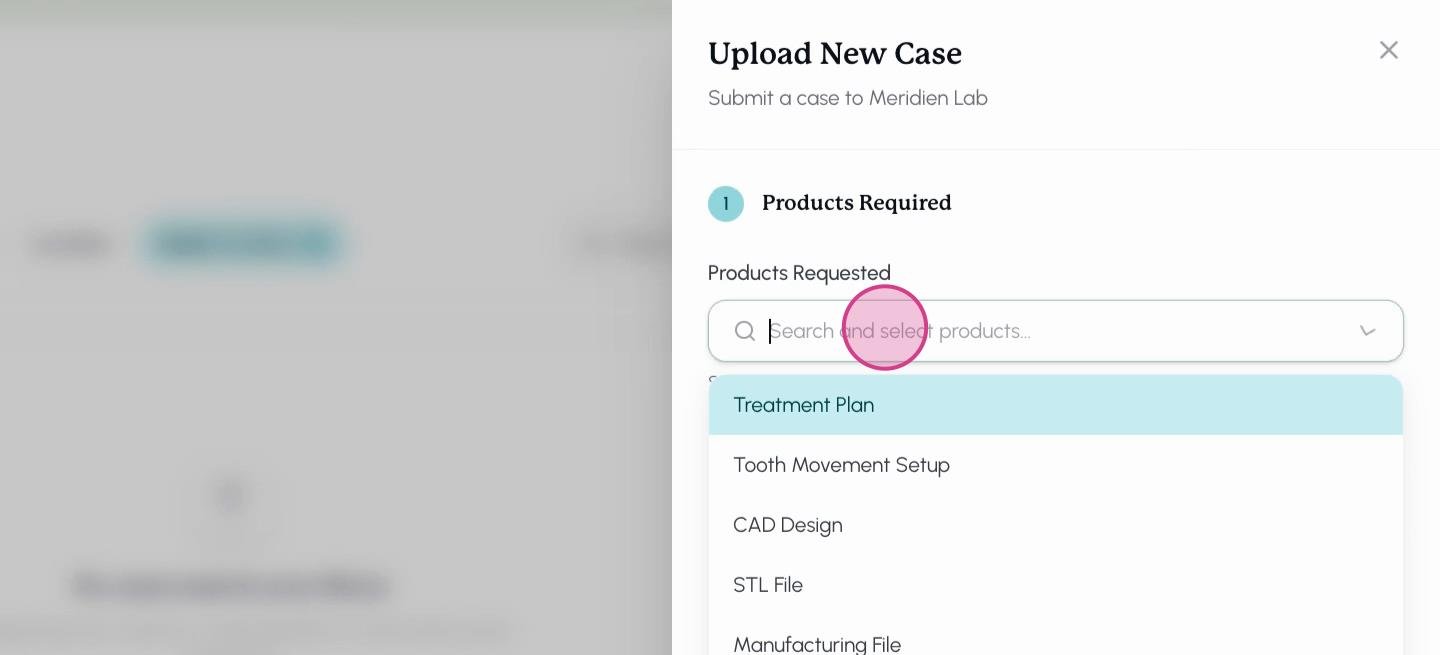
Fill out the form in the panel that appears. Start by selecting the product, such as Clear aligner.
- 4
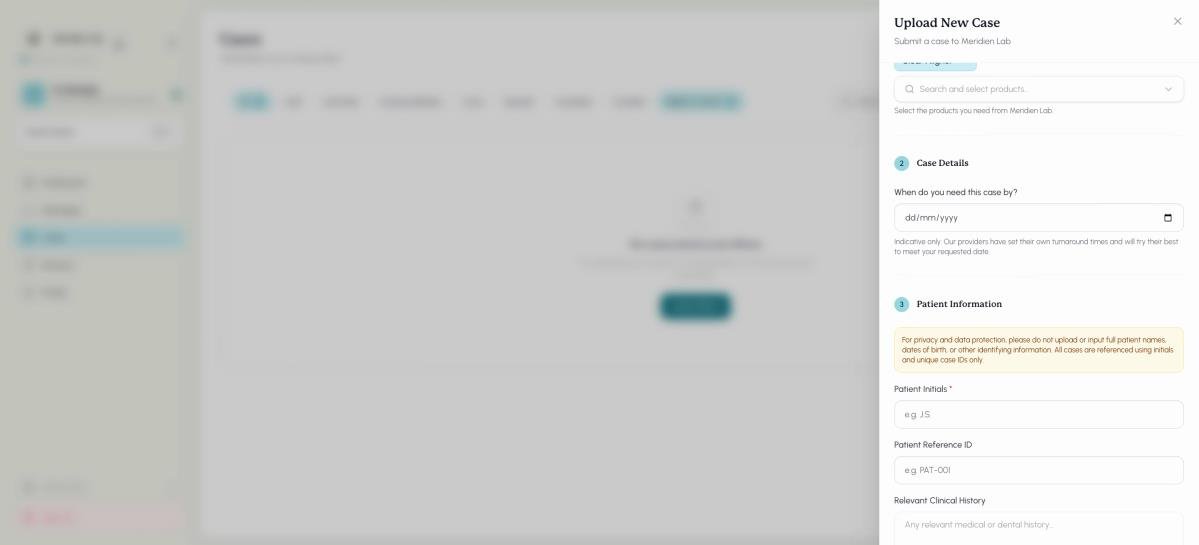
Set the required case completion date so your partner knows your timeline.
- 5
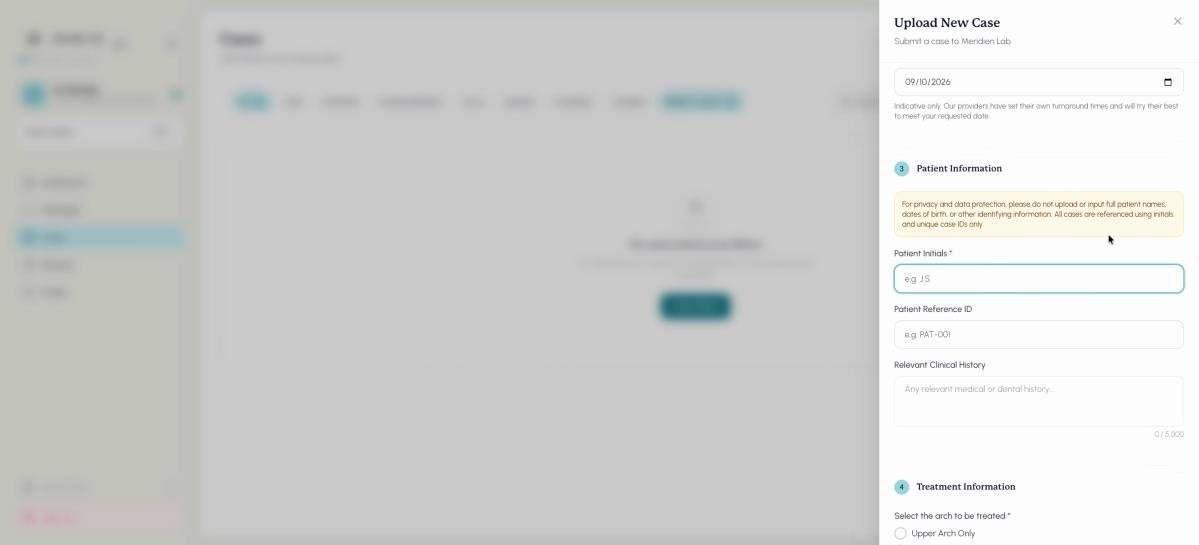
Enter your patient's initials and patient reference ID for tracking.
- 6
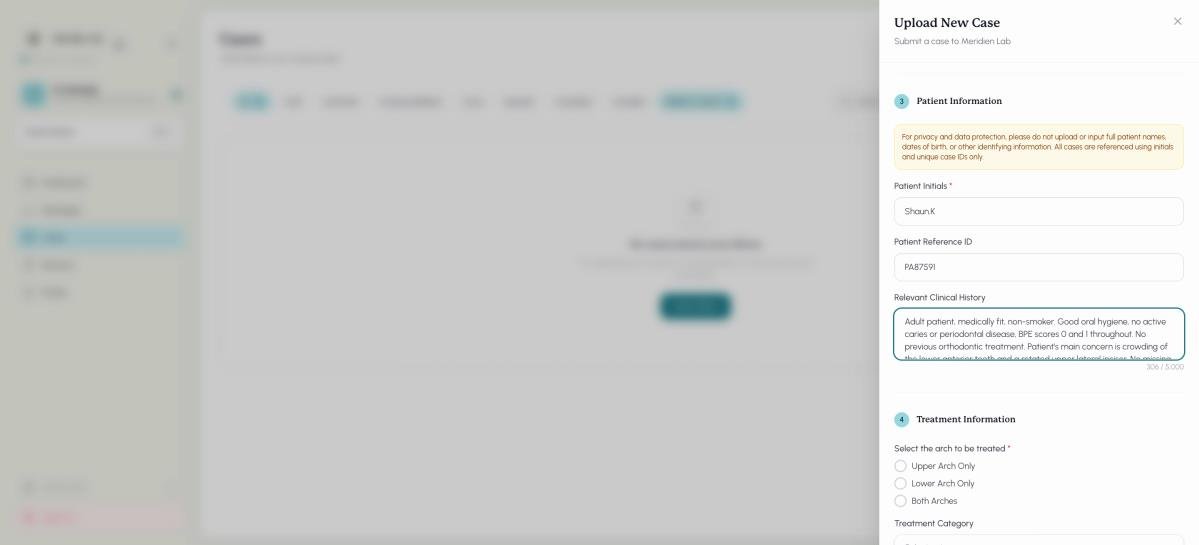
Add relevant clinical history. Include key patient information, concerns, dental health details, and anything that helps the treatment planner understand the case.
- 7
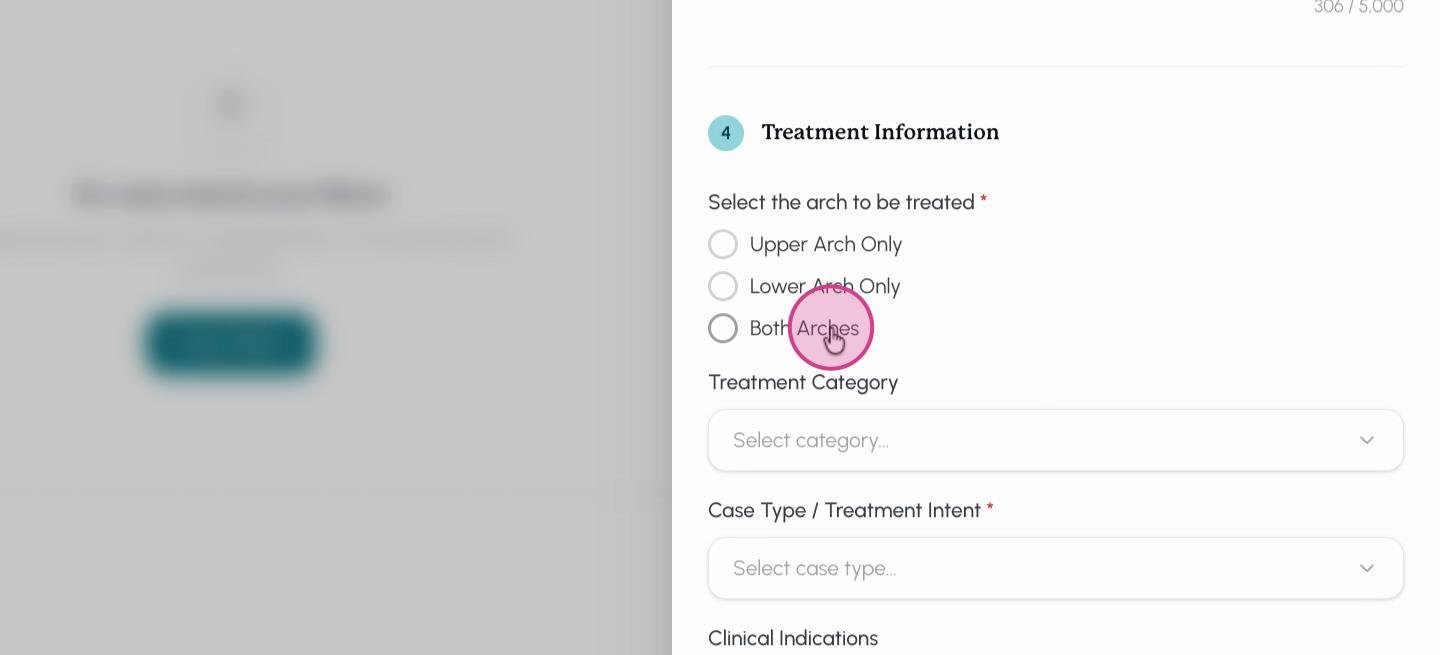
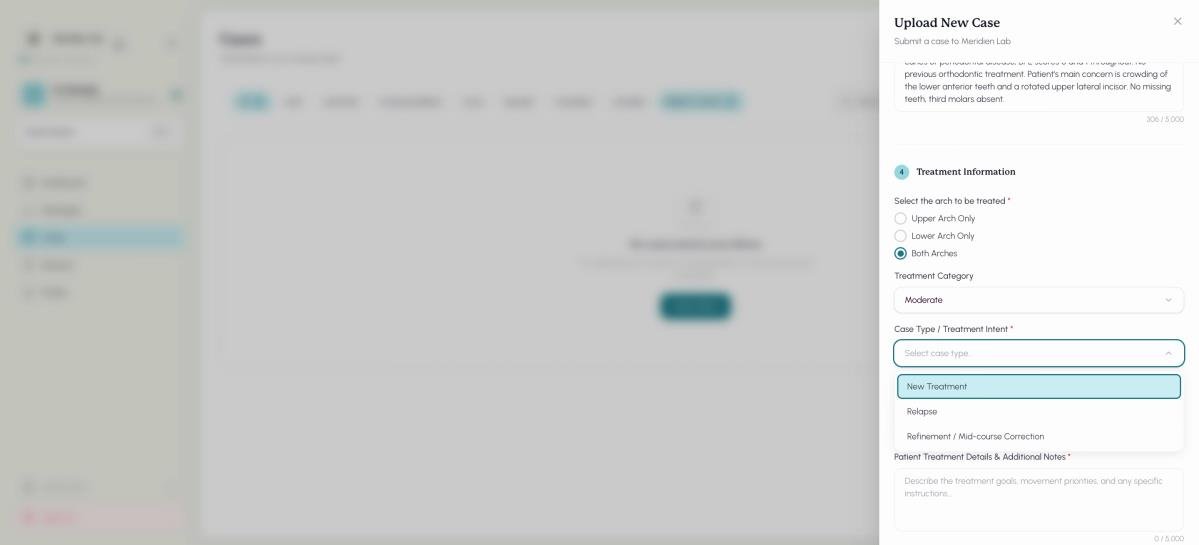
Select the arch to treat (upper, lower, or both) and choose the treatment category (simple, moderate, complex, or unsure).
- 8
Specify the case type: new treatment, a relapse, or a refinement.
- 9
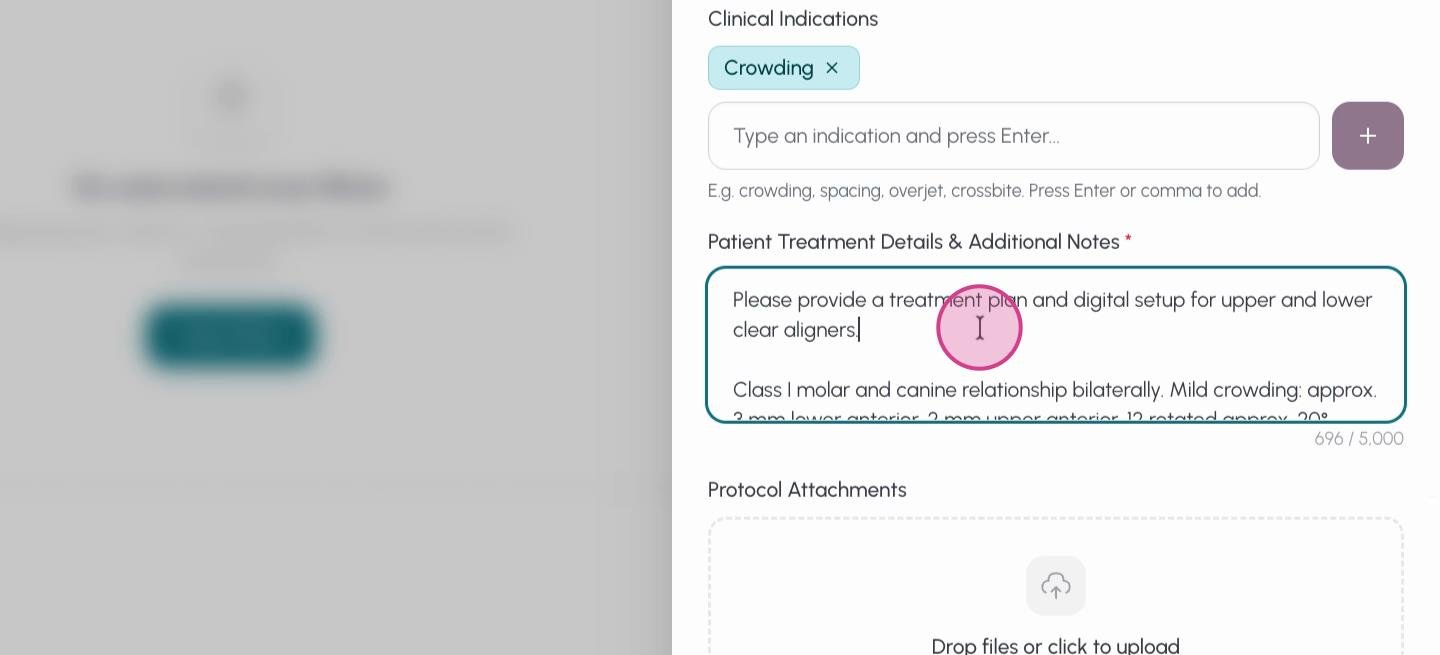
Fill out clinical indications with keywords like "crowding," and add in-depth case notes and treatment goals for clarity.
- 10
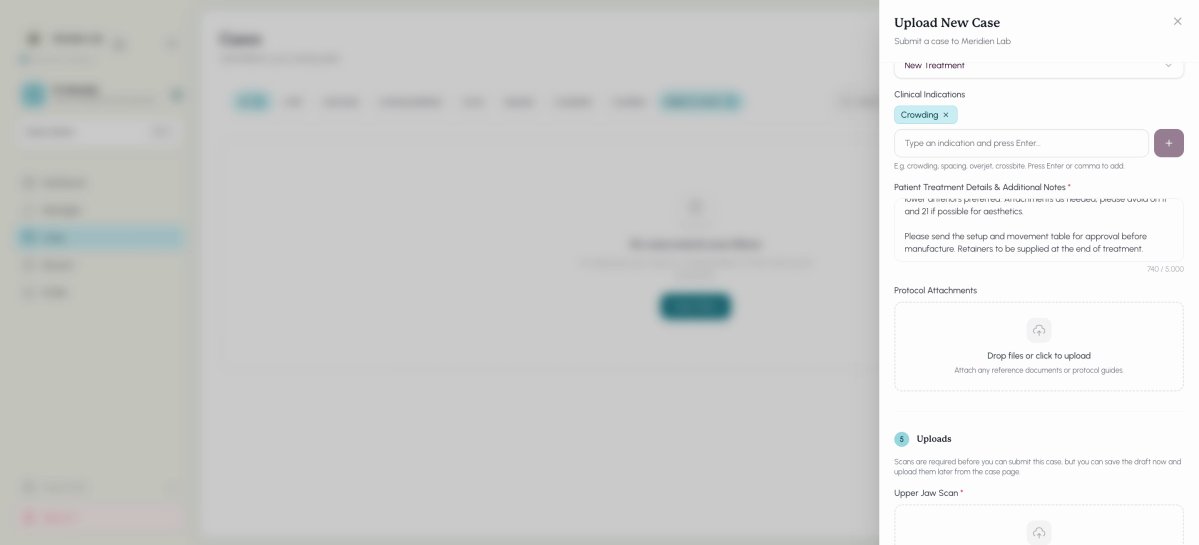
Upload relevant documents, such as protocols or additional instructions, by clicking Upload and selecting the file.
- 11
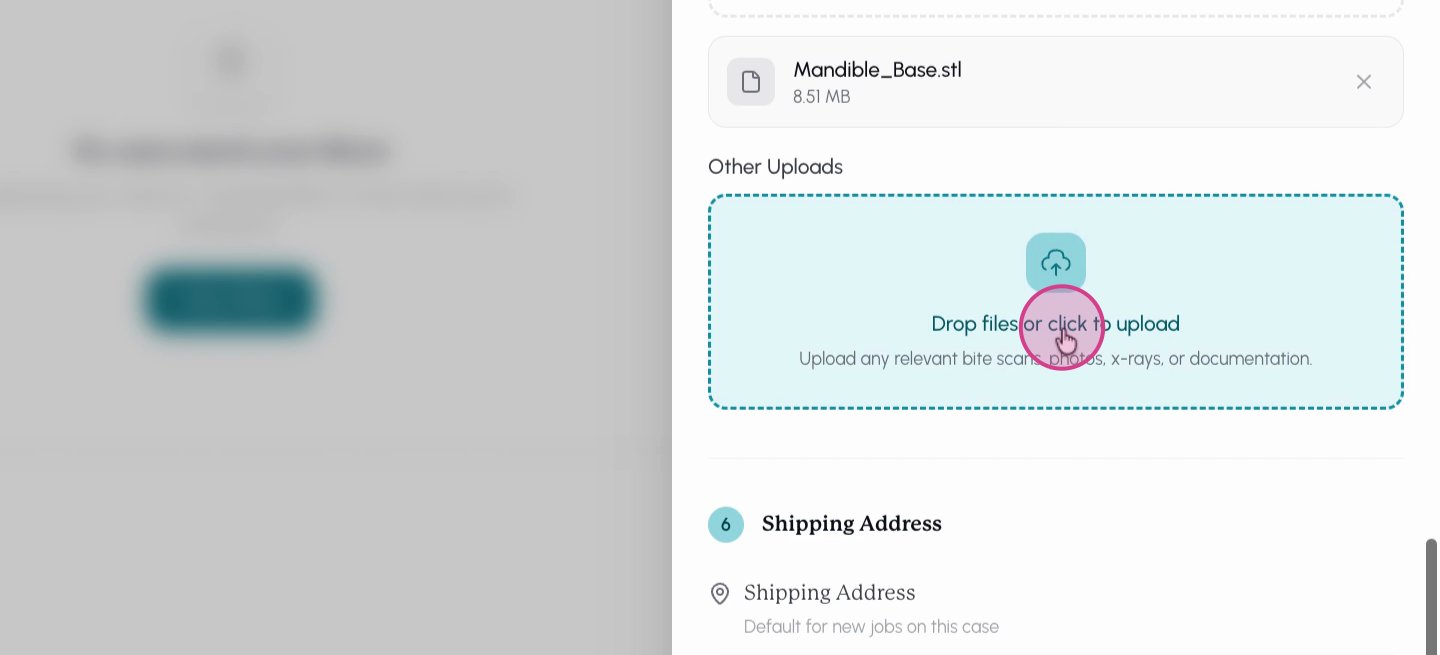
Add scans for the upper and lower jaw, plus any x-rays or clinical photos that support your case.
- 12
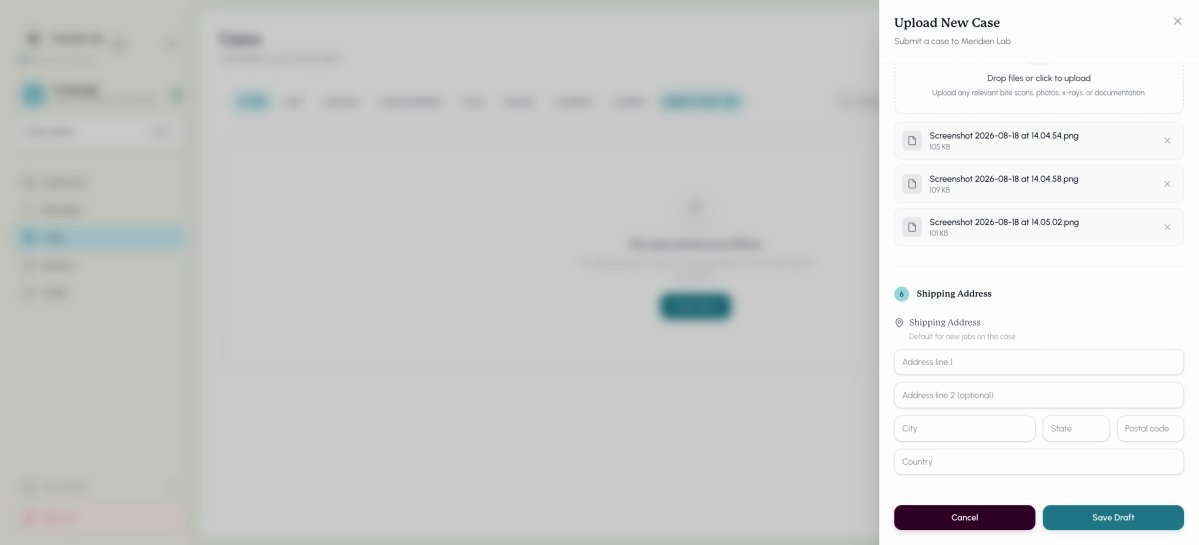
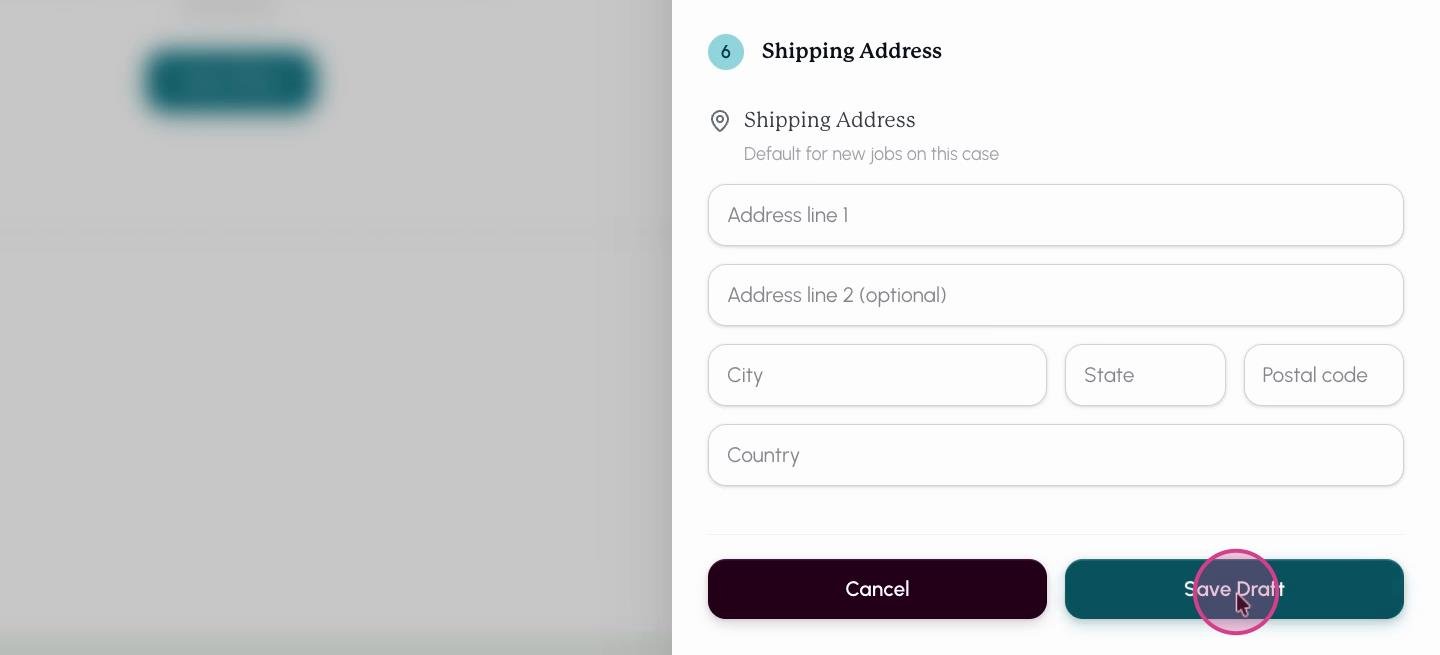
Confirm or edit the shipping address. For recurring cases, update your organization settings to save time.
- 13
Click Save draft to store your progress. This saves your case and uploads files but doesn't submit the case yet.
- 14
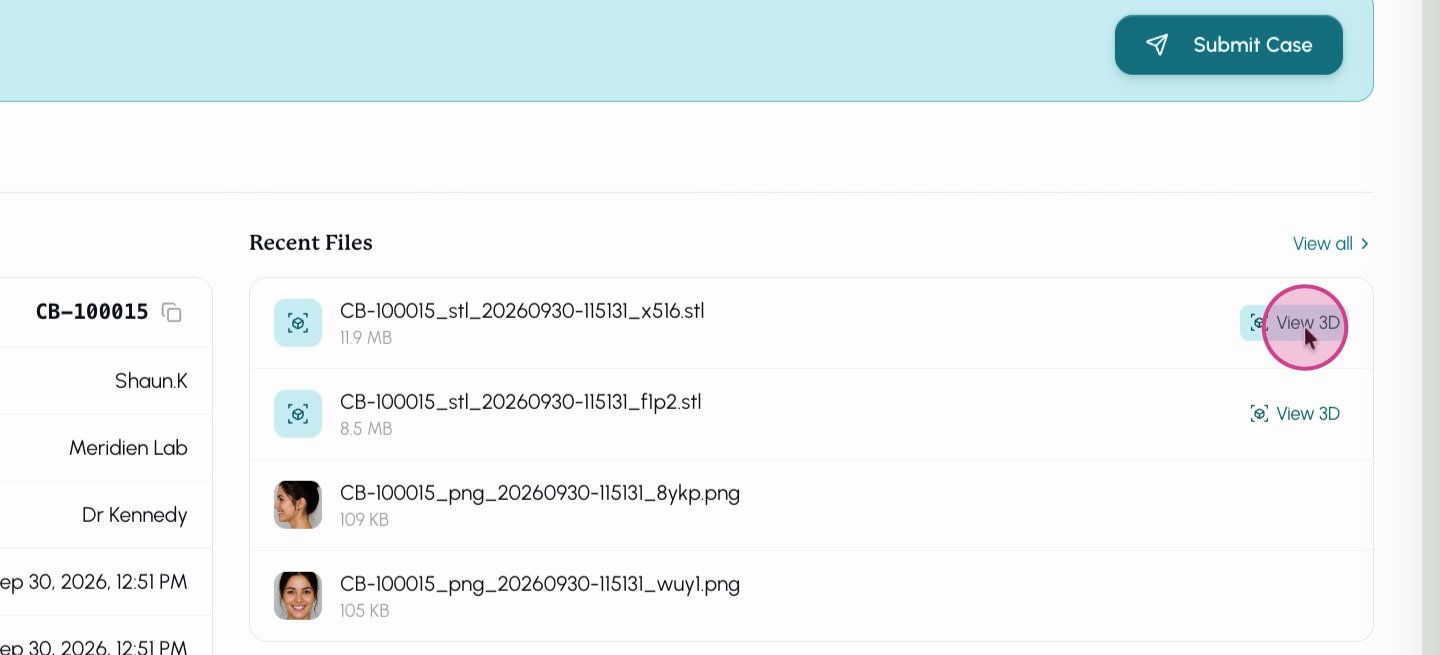
Review your case details and materials. Use the View 3D file option to inspect 3D scan files. Make sure all information and files are included.
- 15
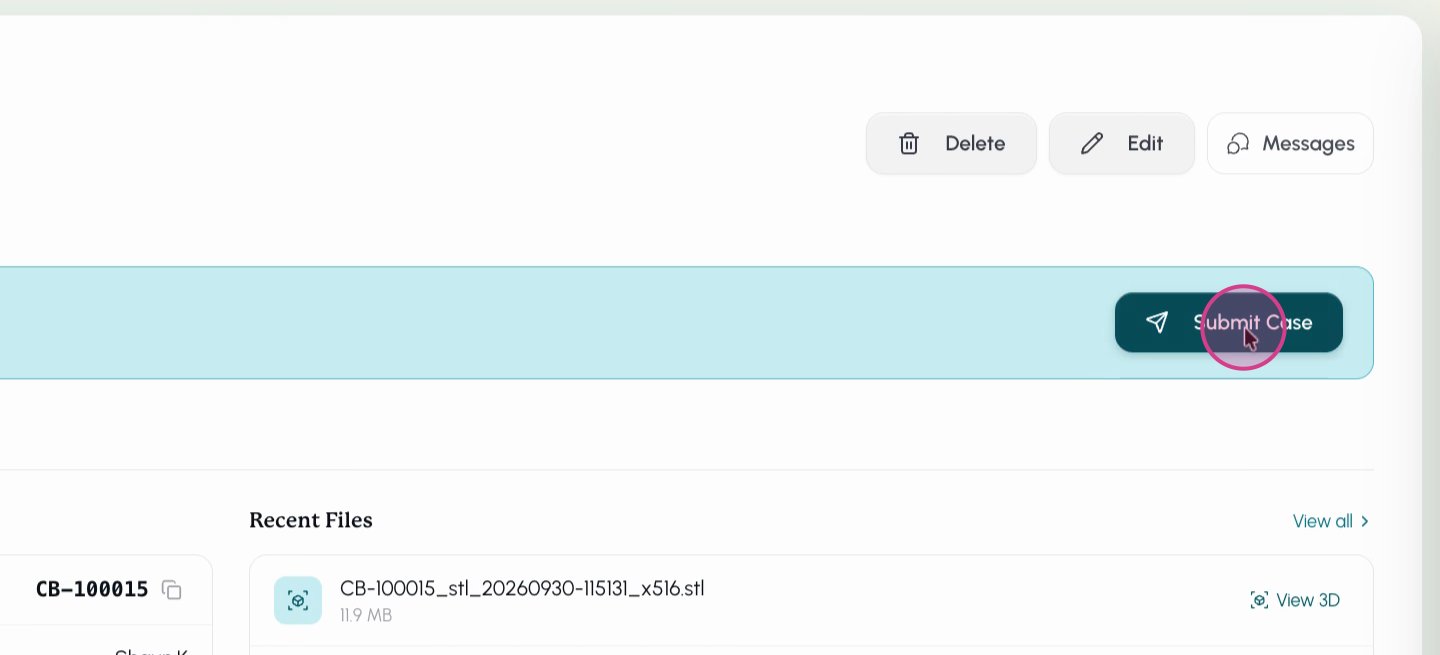
Once satisfied, click Submit. Your case is now sent to your partner lab.
- 16
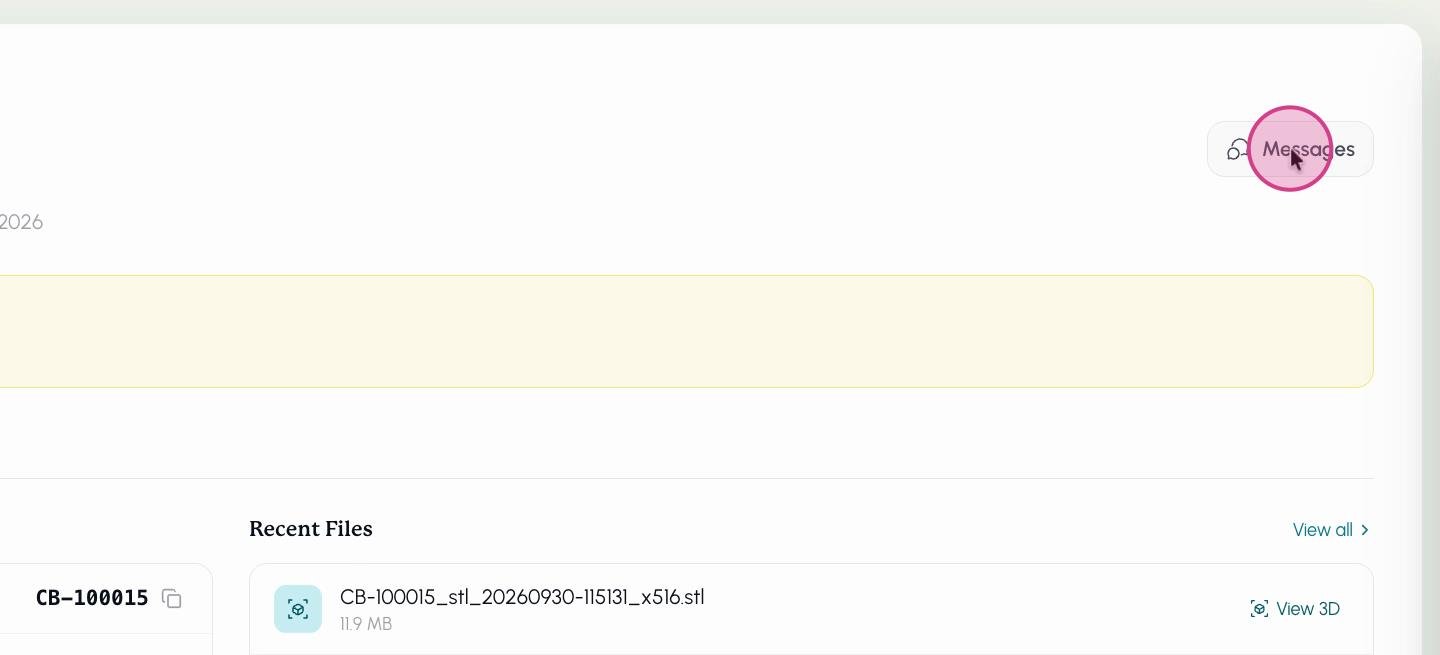
If you need to communicate changes, tap the Messages icon in the top right. Use the messaging panel to discuss and update the case with your partner.